
 Français
 Español
 Deutsch

An M8 boss on a die-cast aluminum transmission housing strips the first time a torque wrench passes 28 Nm. The line stops, the housing goes into a scrap bin, and the real cost is not the housing. It ...
READ MORE
Installation tools Supplier
Installation tools
-
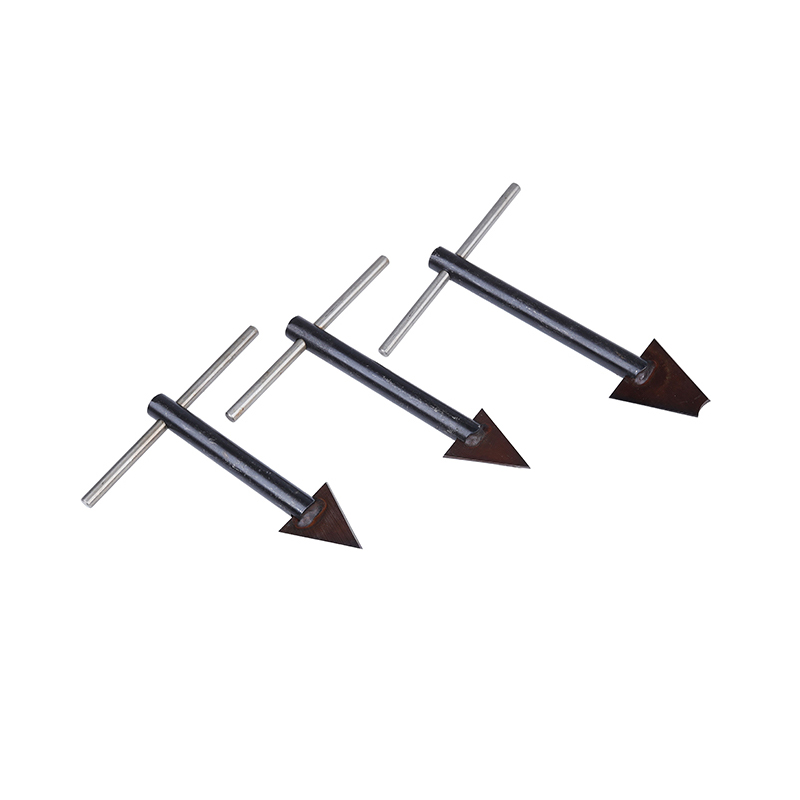 Designed to remove incorrectly installed, damaged, or stuck thread inserts. With precise gripping and force distribution...
-
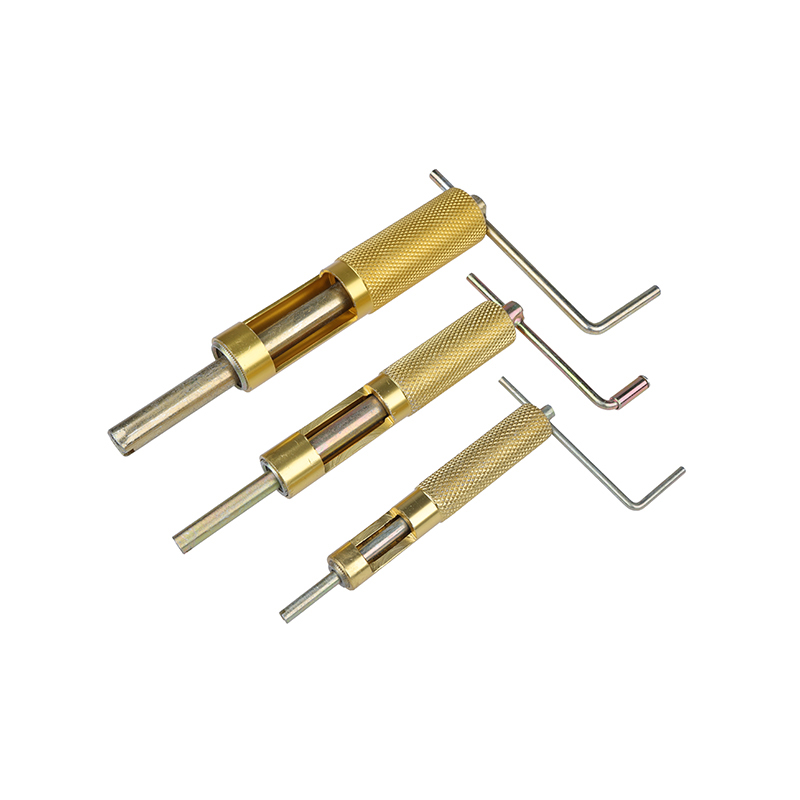 Used to accurately screw wire thread inserts into pre-tapped holes, ensuring correct installation and alignment. The too...
-
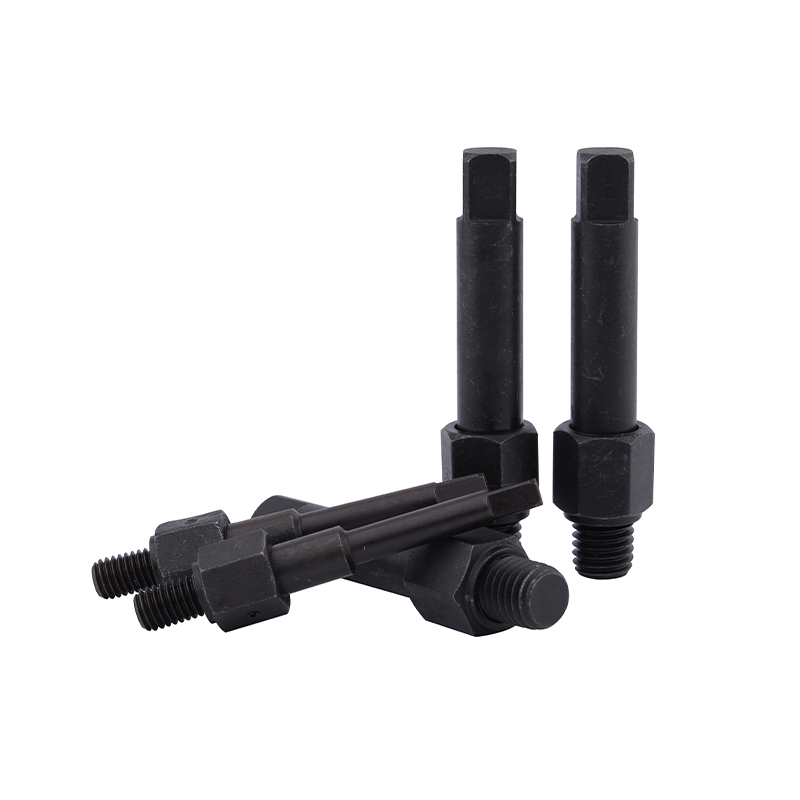 A specialized tool designed for self-tapping inserts, enabling direct cutting of threads in untapped holes without pre-t...
Includes professional thread insert installation and removal tools, enabling efficient and precise operations to ensure secure and reliable threaded connections.
Key-lock Insert Tool: For quick installation of Key-lock inserts.
Self-tapping Insert Installation Tool: Suitable for self-tapping inserts, easily screwed into the base material.
Wire Thread Insert Installation Tool: For precise insertion of wire thread inserts.
Thread Insert Extraction Tool: Safely removes damaged inserts for easy repair.
Company Profile

Dongtai Jinzhize Metal Products Co., Ltd.
As Installation tools Factory and Installation tools Supplier, Dongtai Jinzhize Metal Products Co., Ltd. is a specialized manufacturing facility dedicated to threaded connection products for the automotive and aerospace sectors. We primarily produce Helical Wire Inserts, Self-Tapping Inserts, Key Locking Inserts, Threaded Adapters, Oil Plugs, as well as matching installation taps and tools.
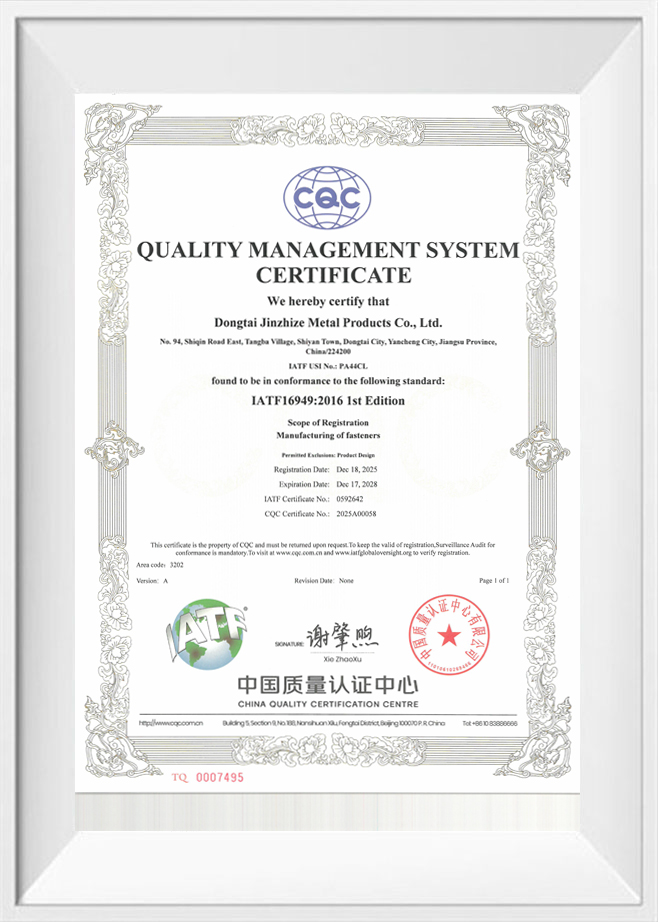
Established in 2015, the company operates from a 10,000-square-meter-owned manufacturing plant equipped with hundreds of machine tools and automated production systems. Through years of development, we have built an experienced team of design, development, and production specialists, complemented by a rigorous quality management system and comprehensive after-sales service mechanism.
Our products are widely utilized in the automotive industry (including engines and transmissions for both passenger and commercial vehicles), the aerospace industry, and rail vehicle manufacturing.
With an annual output value of 153 million RMB in 2024, we possess the capability for a large-scale, stable supply. We are committed to providing customers with highly consistent, traceable products and reliable service support.
News
-
-
A purchasing engineer signs off on a drawing for a transmission housing insert. The note reads "316 stainless, 30 HRC." The first supplier quotes cold-drawn bar. The second ships annealed stock and c...
READ MORE -
A machinist running 304 stainless on a CNC lathe knows the routine: slower surface speeds, shorter tool life, stringy chips that wrap around the toolholder, and a finished thread that has to be gauge...
READ MORE -
A drawing lands on a machinist's bench. The callout says "303 stainless" for a small threaded oil drain plug and a batch of self-tapping inserts. Nobody asks whether the part will be strong enough, b...
READ MORE -
If you are about to tap a 9/16 thread, the first specification you need is the 9/16 tap drill size. For a 9/16-12 UNC coarse thread, the standard tap drill is 31/64 inch (0.4844 inch), and for a 9/16...
READ MORE
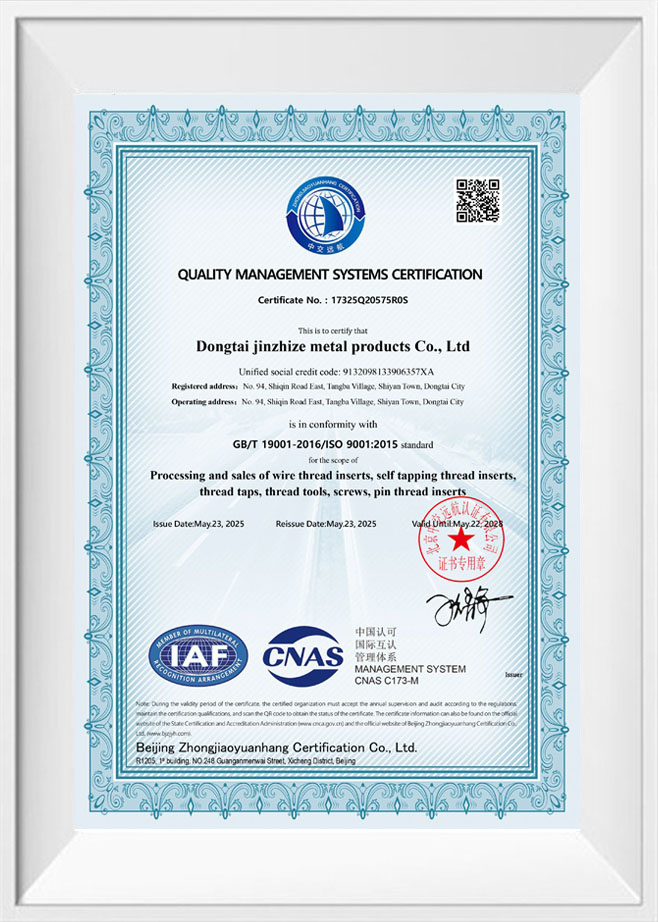
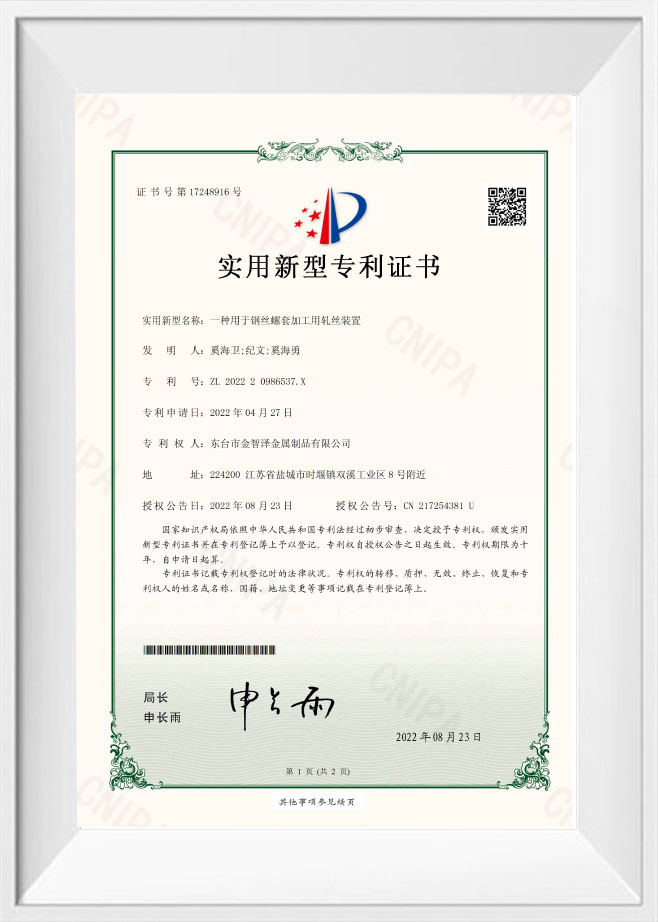
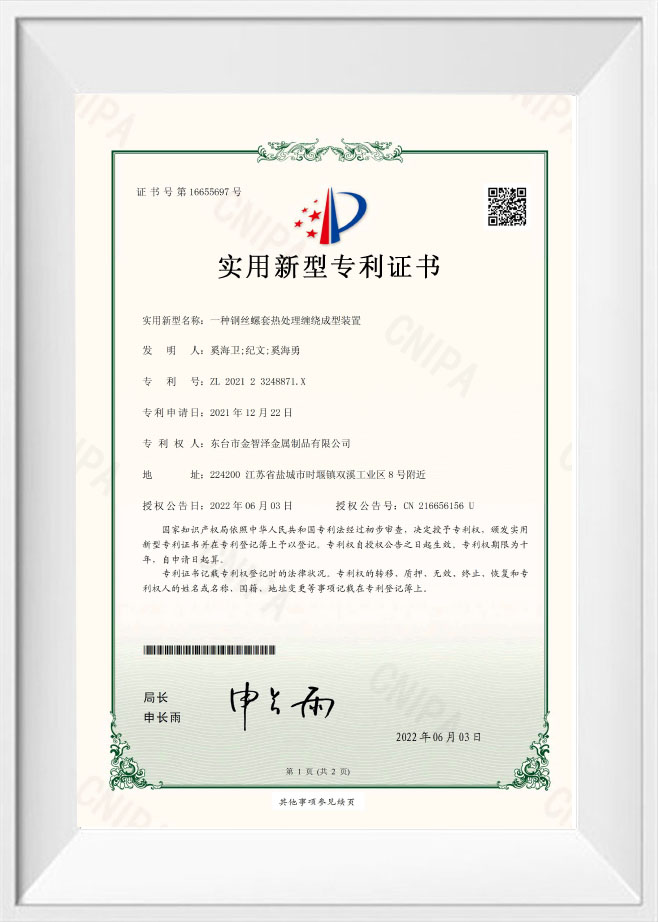
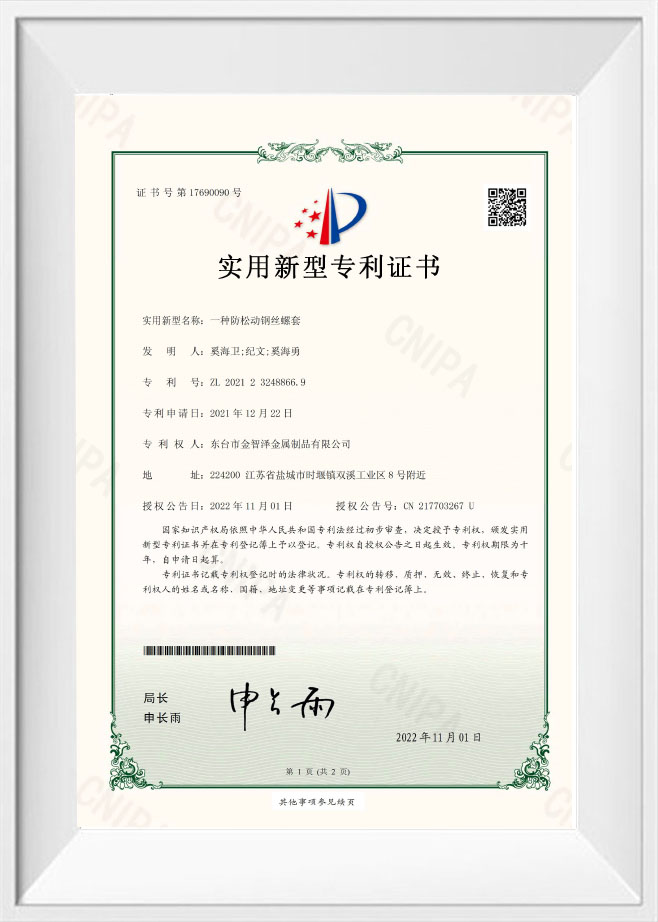
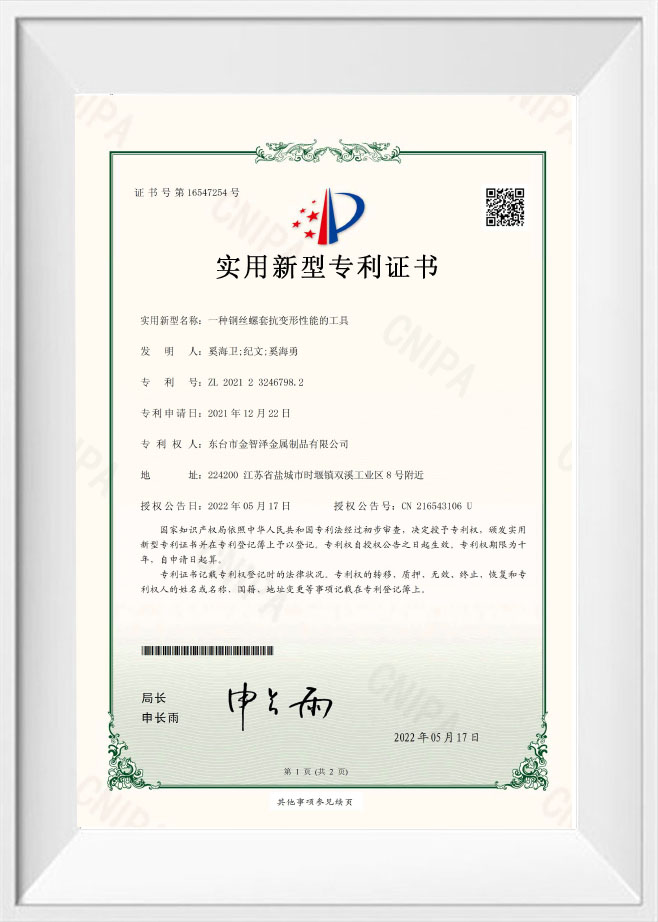
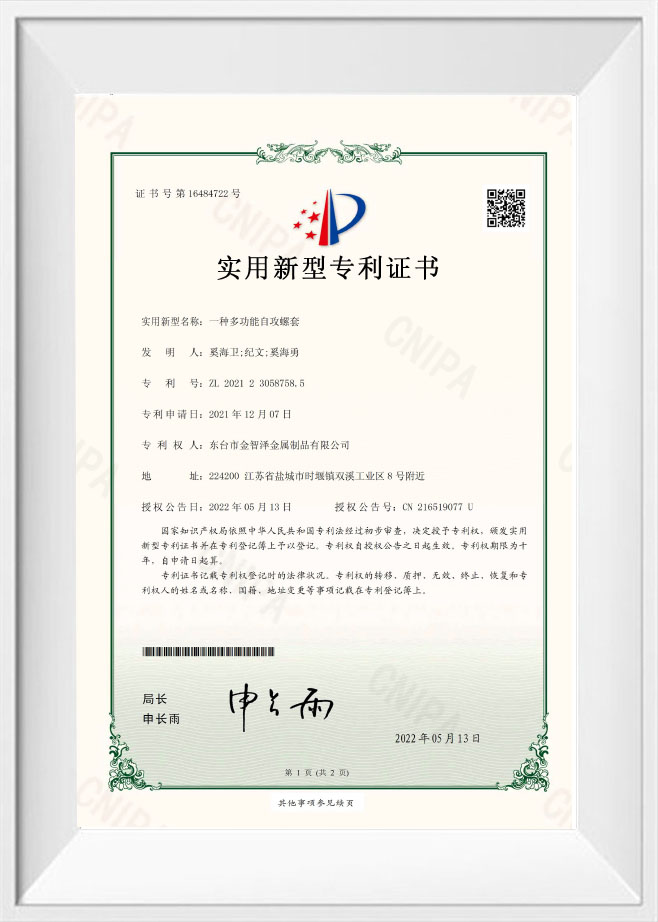
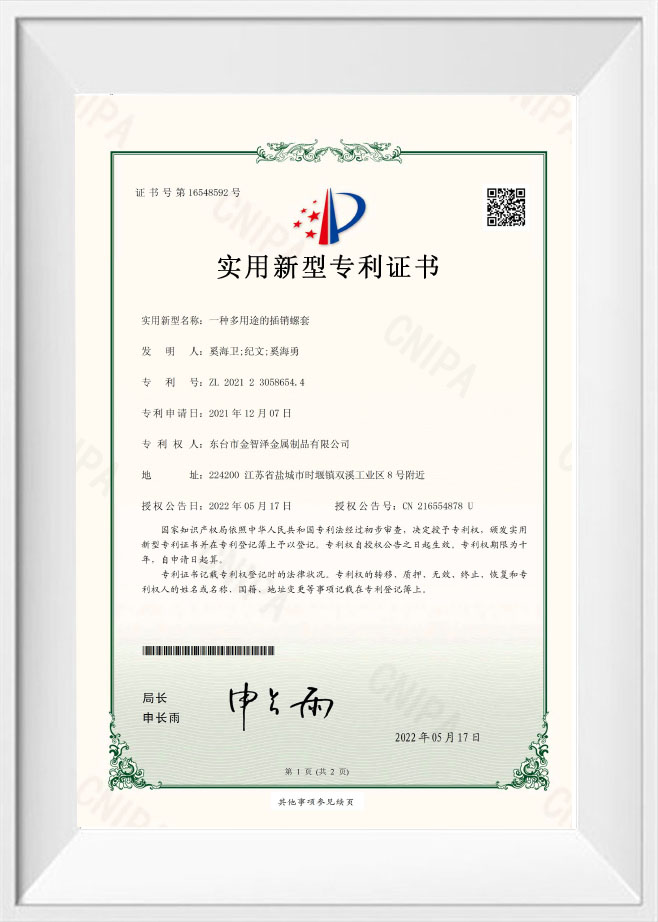
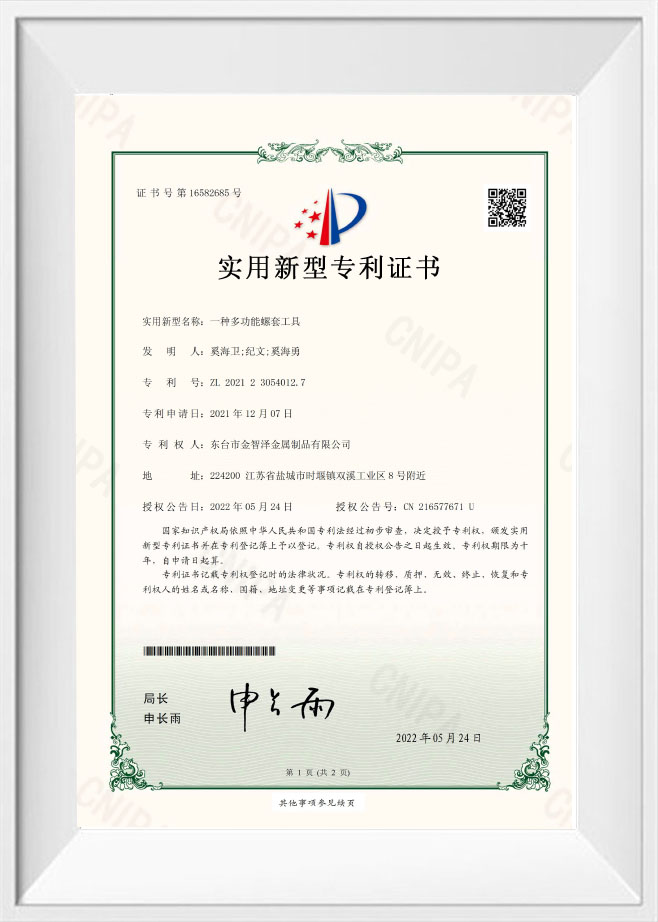
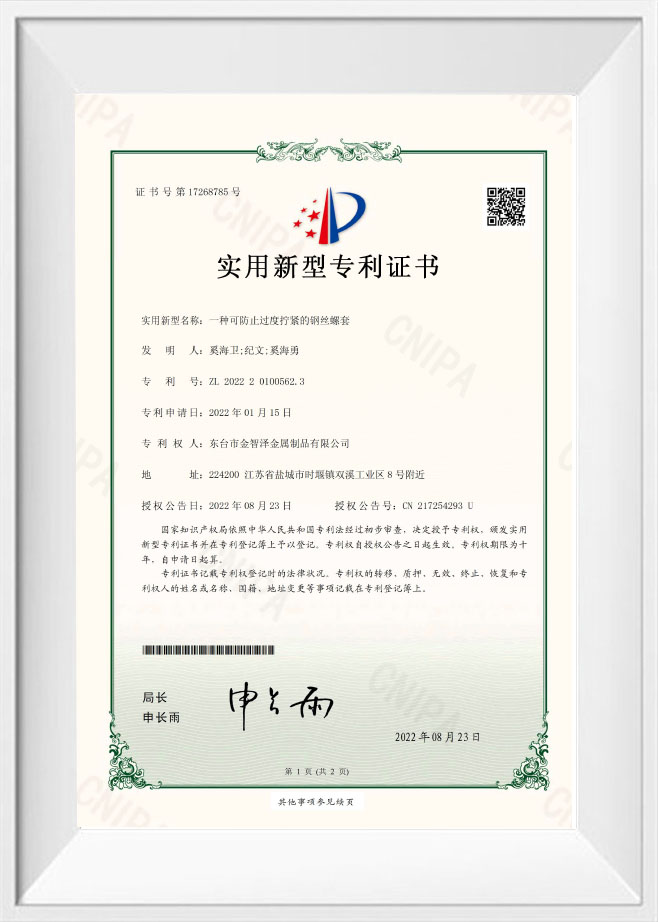
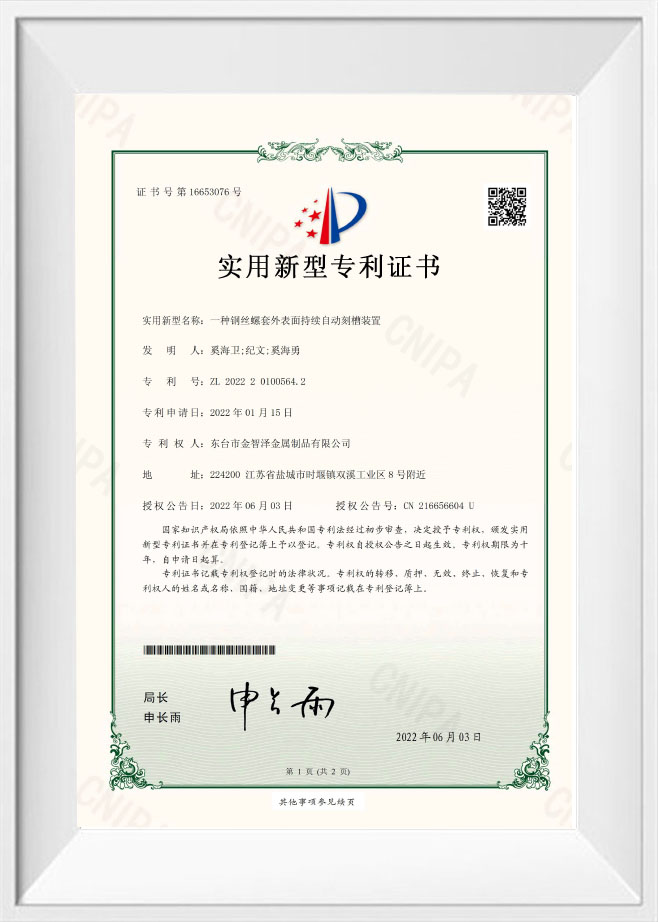
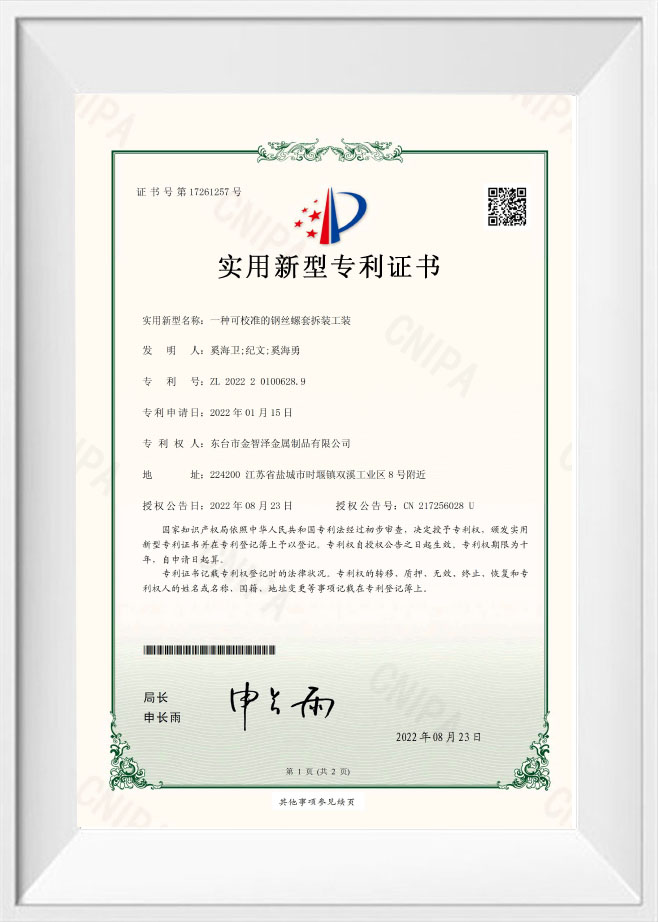
Certificate Of Honor
Installation tools Industry knowledge
What is the core insertion process for thread insert installation and removal tools?
The core insertion process for thread insert installation and removal tools is a crucial step in ensuring precise force transmission and durability. Its main process flow is as follows:
1. Core component structural design: This toolkit typically includes a "core rod" and a "sleeve." The core rod and sleeve are secured together via a threaded connection or other mechanical structure.
2. Machining and assembly: During manufacturing, the core component (such as the core rod) is first precision-machined. Then, the core rod and sleeve are assembled using a threaded connection or locking mechanism to form a complete installation or removal tool. This process usually involves high-precision machining to ensure that the tool does not loosen or deform during use.
3. Functional realization: The core purpose of the core insertion process is to achieve precise driving and positioning of the threaded insert while ensuring the integrity of the tool's structure. Through the core-insertion structure, the tool can effectively convert rotational force into axial pressure, ensuring that the threaded insert can be accurately inserted or withdrawn.
| Table 1: Hot Issues (Focus on Pain Points) | ||
| Hot Issue | Core Problem | Key Solution Tools/Techniques |
| Thread Misalignment / Slipping | Misaligned drilling or tool mismatch. | Use the Alignment Kit (with alignment pin/spacer) to ensure verticality and depth; check drill perpendicularity. |
| Need for Glue? | A single press-in may be insufficient for heavy loads. | Apply Epoxy: Coat before pressing or screwing in; cure for a stronger bond. |
| Removal of Failed Inserts | Direct pulling can damage wood. | Use the Removal Tool (reverse thread sleeve) to unscrew; tap or heat if needed. |
How to Choose the Best Thread Insert Installation and Removal Tools for Me?
Choosing the best thread insert installation and removal tools for you depends on matching your specific use case and technical requirements:
1. Identify the Applicable Insert Type: First, determine the type of thread insert you need to operate on. Common inserts on the market include:
Key-lock Insert: For key-lock threaded sleeves requiring quick installation.
Self-tapping Insert: A tool designed specifically for self-tapping threaded sleeves.
Wire Thread Insert: For precision insertion of wire threaded sleeves.
Damaged Insert: For safe removal of damaged or installed threaded sleeves for easy repair.
2. Choose the Drive Method:
Manual Drive: Suitable for small batch or single-piece operations. Manually driven tools are typically lightweight and flexible, but limited by manpower, suitable for scenarios where installation speed is not urgent.
Hydraulic/Pneumatic Drive: Suitable for mass production or scenarios requiring high torque. Hydraulic or pneumatic tools provide greater driving force and faster work efficiency.
Electric Drive: Suitable for automated production lines that prioritize high efficiency and precision.
3. Check Specifications:
Torque Range: Ensure the tool's maximum torque meets your installation needs. Generally, the torque range for tools varies from 15kN to 77kN.
Size Range: The tool's specifications should cover your commonly used thread sizes. Different tools support different size ranges; for example, some tools support M8 to M30 installations.
Installation Stroke: The maximum installation stroke varies depending on the tool, typically between 5mm and 12mm.
| Table 2: Basic Issues (Focus on Concepts) | ||
| Basic Issue | Core Concept | Key Answer Points |
| What is a Thread Insert Installation Kit? | A set for installing metal threads in wood/plastic. | Includes insert sleeve, wrench, sometimes an alignment pin. |
| Press-Fit vs. Screw-In: Which to Choose? | Press-fit relies on friction; screw-in relies on thread cutting. | Press-Fit: Larger hole, hardwood, no glue. |
| Screw-In: Smaller hole, soft wood, easy removal. | ||
| What is a Thread Depth Gauge? | A tool for measuring drill depth. | Ensures the hole is deep enough for the insert, preventing installation failure. |
FAQ
Q: What basic tools are needed for installing threaded inserts?
A: Generally, the following two types of tools are needed:
Installation Tool: Used to screw the insert into the base material. Common types include screw press-in tools (for self-tapping threaded inserts) and handle press-in tools (for ordinary threaded inserts).
Removal Tool: Used to remove the installed insert. Common types include reverse and hook tools.
Q: How to choose the appropriate installation tool?
A: When choosing a tool, the main consideration is the type of insert:
Screw press-in tool: Suitable for inserts with self-tapping threads. It automatically winds into the base material, forming a stable connection.
Handle press-in tool: Suitable for ordinary threaded inserts (such as threaded locking inserts). This tool typically locks into the insert via a keyway and then is rotated to press in.
Q: What are the basic steps for installing threaded inserts? A: The standard installation procedure is as follows:
Drilling: Drill a hole according to the insert specifications (usually slightly larger than the insert's outer diameter) and chamfer it.
Installation with Installation Tool: Insert the insert into the appropriate installation tool (such as a wrench tool).
Pressing: Press the insert into the base material using torque or impact. For self-tapping inserts, the tool will roll in the threads; for standard inserts, the tool will rotate and press in.
Alignment: After pressing in, ensure the insert's flange is flush with or slightly below the surface of the base material.
Q: How to safely remove an installed threaded insert?
A: The removal steps typically include:
Drilling out the key (if any): Drill out the key using the specified drill bit. This step is to prevent damage to the base material during removal.
Folding the Key Inward: Fold the key inward and break it off to loosen the insert.
Using a Removal Tool: Insert the removal tool (such as a wrench or hook tool) into the keyway of the insert and unscrew it counterclockwise.
Let's Talk Affiliate Marketing

-
ADDRESS
No. 94, Shiqin Road East, Tangba Village, Shiyan Town, Dongtai City, China E-mail : xzy@jinzhize.com Tel : +86-15061682958 -
QUICKLINKS
-
POPULAR PRODUCT
Self-tapping Thread Insert Internal-external Thread Conversion Nut Wire Thread Insert Three-hole threaded insert Key-locking Insert Oil plug Installation tools Thread Tap -
MEDIA
Copyright © Dongtai Jinzhize Metal Products Co., Ltd. All Rights Reserved.
 Installation tools Factory
Installation tools Supplier
Installation tools Factory
Installation tools Supplier
Installation tools Factory
Installation tools Supplier